
Preface
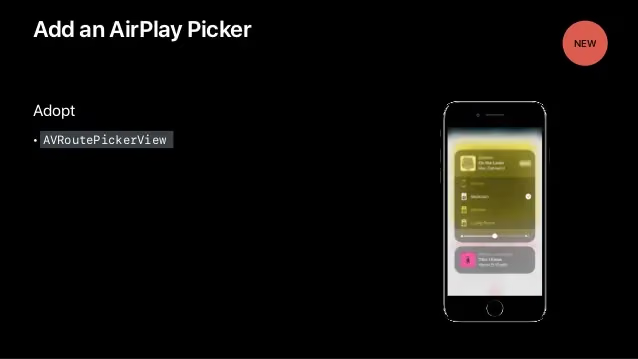
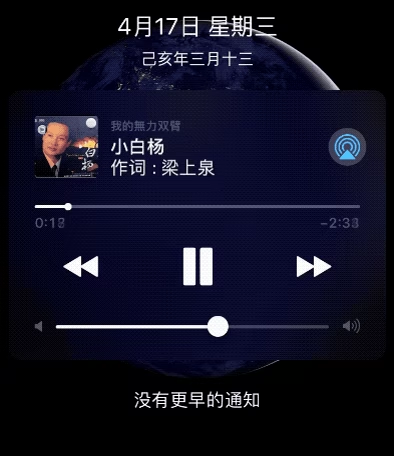
Recently I happened to look at AVKit and found a lot of new content inside. Among it is a UI control called AVRoutePickerView, which I planned to study. Actually it’s very common — you can see it in the system Control Center by swiping down the screen, when you connect headphones or wireless Bluetooth devices.
Here’s a real-world example in NetEase Cloud Music:
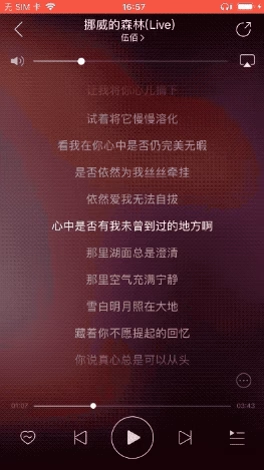
This control is mainly used for AirPlay casting and audio route switching.
So today I’ll learn about this new control with everyone.
Code Implementation
Import #import <AVKit/AVKit.h>
The rest is just creating an instance and calling methods.
Here I’ll use a ViewController as an example:
1
2
3
4
5
6
7
8
9
10
11
12
13
14
15
16
17
18
19
20
21
22
23
24
25
26
27
28
29
30
@interface ViewController ()  <AVRoutePickerViewDelegate>

@end

@implementation ViewController

- (void)viewDidLoad {
    [super viewDidLoad];

    if (@available(iOS 11.0, *)) {
        AVRoutePickerView *routerPickerView = [[AVRoutePickerView alloc] initWithFrame:CGRectMake(100, 100, 100, 100)];
        routerPickerView.activeTintColor = [UIColor cyanColor];
        routerPickerView.delegate = self;
        [self.view addSubview:routerPickerView];
    } else {
        // Fallback on earlier versions
    }

}

//Callback when the AirPlay route picker is about to appear
- (void)routePickerViewWillBeginPresentingRoutes:(AVRoutePickerView *)routePickerView API_AVAILABLE(ios(11.0)){
    NSLog(@"Airplay视图弹出");
}
//Callback when the AirPlay route picker finishes disappearing
- (void)routePickerViewDidEndPresentingRoutes:(AVRoutePickerView *)routePickerView API_AVAILABLE(ios(11.0)){
    NSLog(@"Airplay视图弹回");
}

@end
After adding it, run it and you’ll see:

The AVRoutePickerView view only exposes two color values in its API — nothing else, and nothing else can be changed. So how do we implement a custom icon like NetEase Cloud Music?
Adding a Custom View
1
2
3
4
UIImageView *imageView = [[UIImageView alloc] initWithFrame:routerPickerView.bounds];
        imageView.image = [UIImage imageNamed:@"logo2"];
        [routerPickerView addSubview:imageView];

Just add an icon yourself.
Summary
This control only works on iOS 11 and later. When using it, remember to add availability checks:
1
2
3
if (@available(iOS 11.0, *)) {
	//Write the view creation code here
}
This control improves the user experience in many scenarios. For example, audio/video apps frequently switch wired headsets or Bluetooth headphones, so if you have such requirements, give it a try. Thanks for your support!