
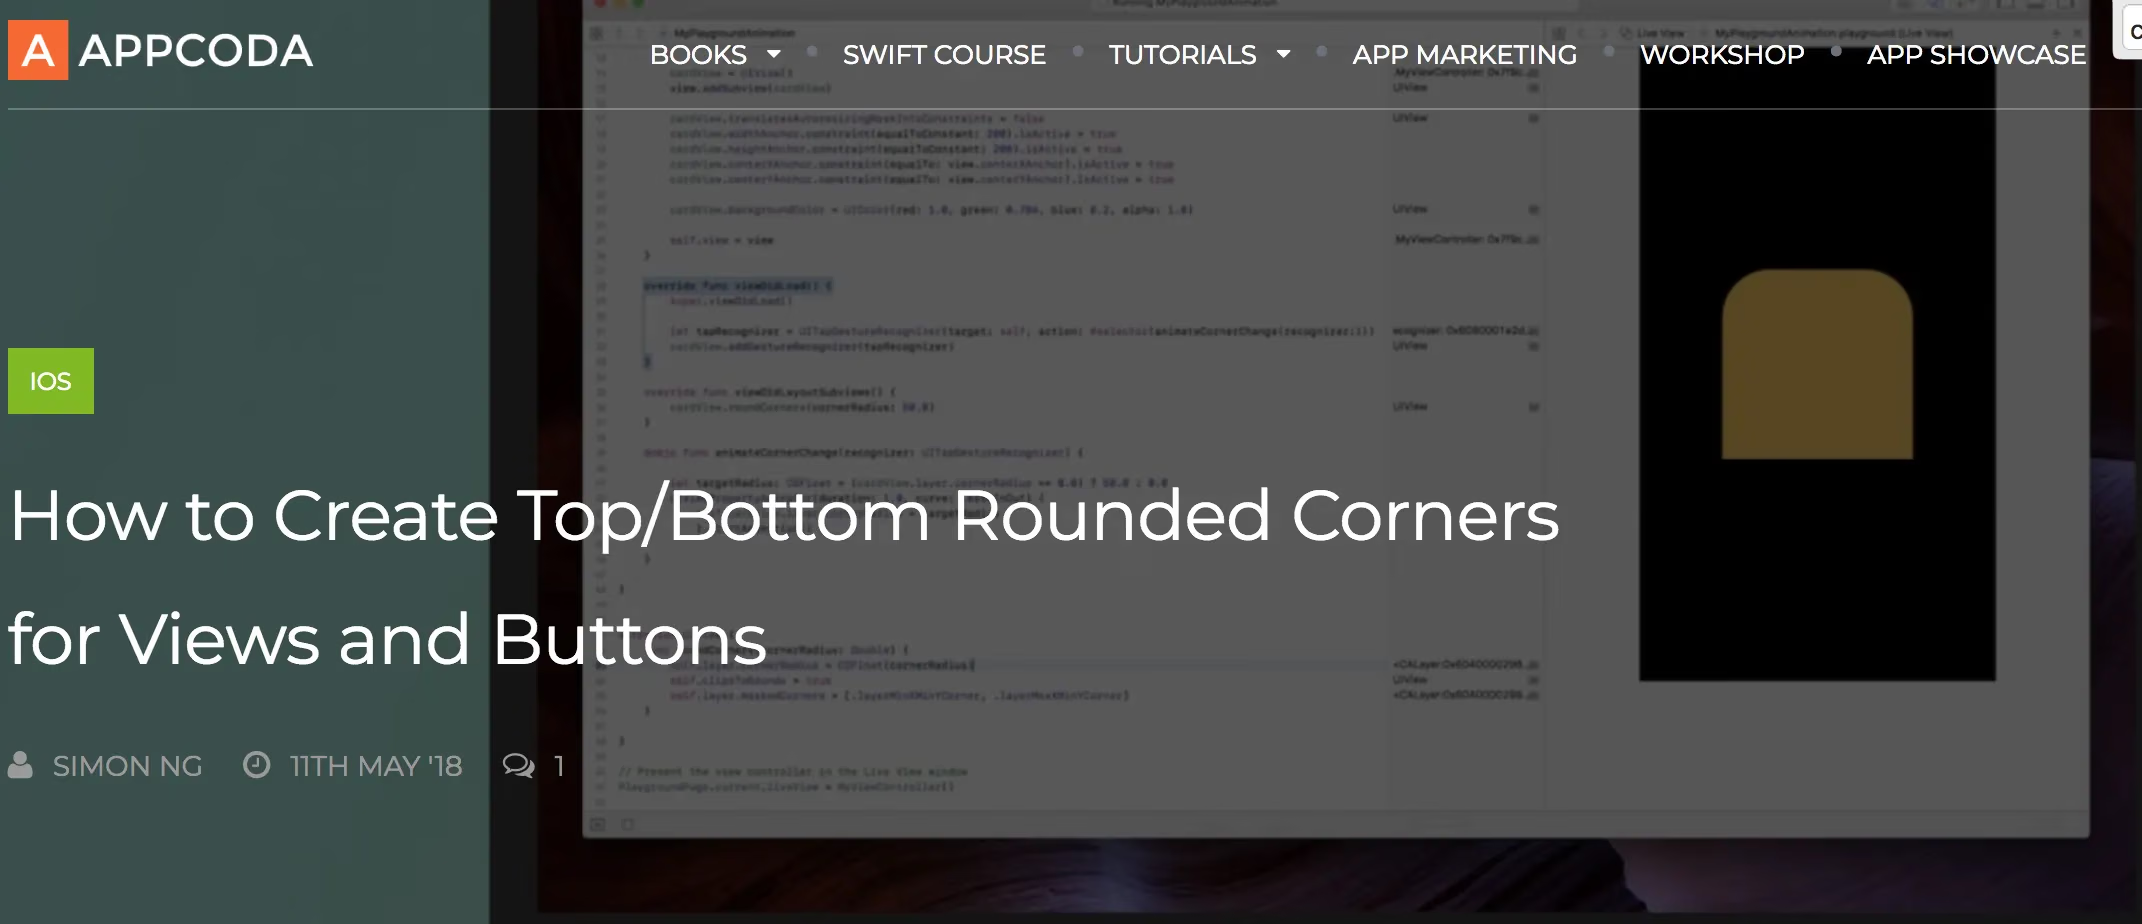
Preface
In development we’re often bothered by tricky corner-radius problems, especially when we want to round a UIView only at the top-left, bottom-left, etc.
This kind of requirement is well worth implementing in code. Today I happened to find a great article on AppCode. Hence the post below.
The Usual Corner Radius
1
2
self.view.cornerRadius = 20.0
self.view.clipToBounds = true
These two lines round all corners.
If you want different corners rounded, you can use the new iOS 11 API, or the pre-iOS 11 CAShapeLayer approach of drawing a Bezier curve.
First, we create a UIView.
1
2
3
4
5
6
7
8
9
10
11
12
13
14
15
16
17
18
class ViewController: UIViewController {

    var cardView: UIView!

    override func viewDidLoad() {
        super.viewDidLoad()

        cardView = UIView()
        view.addSubview(cardView)
        cardView.translatesAutoresizingMaskIntoConstraints = false
        // Center the view
        cardView.widthAnchor.constraint(equalToConstant: 200).isActive = true
        cardView.heightAnchor.constraint(equalToConstant: 200).isActive = true
        cardView.centerXAnchor.constraint(equalTo: view.centerXAnchor).isActive = true
        cardView.centerYAnchor.constraint(equalTo: view.centerYAnchor).isActive = true
        cardView.backgroundColor = UIColor(red: 1.0, green: 0.784, blue: 0.2, alpha: 1)
    }
}
After iOS 11, Apple provides a UIView property called maskedCorners, which is related to CALayer animation.
1
2
3
4
5
6
7
8
9
10
11
12
13
14
public struct CACornerMask : OptionSet {

    public init(rawValue: UInt)


    public static var layerMinXMinYCorner: CACornerMask { get }

    public static var layerMaxXMinYCorner: CACornerMask { get }

    public static var layerMinXMaxYCorner: CACornerMask { get }

    public static var layerMaxXMaxYCorner: CACornerMask { get }
}
Let me explain:
- layerMinXMinYCorner — rounds the bottom-right corner -> bottom-right corner
- layerMaxXMinYCorner — rounds the top-right corner -> top-right corner
- layerMinXMaxYCorner — rounds the bottom-left corner -> bottom-left corner
- layerMinXMinYCorner — rounds the top-left corner -> top-left corner
Usually, we write an extension for UIView.
1
2
3
4
5
6
7
8
9
10
11
12
13
14
15
16
17
extension UIView {
    func roundCorners(cornerRadius: Double) {
        self.layer.cornerRadius = CGFloat(cornerRadius)
        self.clipsToBounds = true

        if #available(iOS 11.0, *) {
            self.layer.maskedCorners = [.layerMinXMinYCorner, .layerMaxXMinYCorner]
        } else {
            let path = UIBezierPath(roundedRect: self.bounds, byRoundingCorners: [.topLeft, .topRight], cornerRadii: CGSize(width: cornerRadius, height: cornerRadius))
            let maskLayer = CAShapeLayer()
            maskLayer.frame = self.bounds
            maskLayer.path = path.cgPath
            self.layer.mask = maskLayer
        }

    }
}
This distinguishes the two approaches before and after iOS 11.
Before iOS 11, we drew a path with a Bezier curve, then created a CAShapeLayer to act as a transparent mask on self.layer.mask, to round different corners.
Adding Corner Animation
We add a gesture recognizer to the original viewDidLoad() method.
And write the triggered event. Here’s the complete code.
1
2
3
4
5
6
7
8
9
10
11
12
13
14
15
16
17
18
19
20
21
22
23
24
25
26
27
28
29
30
31
32
33
34
35
36
37
38
39
40
41
42
43
44
45
46
47
48
49
50
51
52
53
54
55
56
57
58
import UIKit

class ViewController: UIViewController {

    var cardView: UIView!

    override func viewDidLoad() {
        super.viewDidLoad()

        cardView = UIView()
        view.addSubview(cardView)
        cardView.translatesAutoresizingMaskIntoConstraints = false
        cardView.widthAnchor.constraint(equalToConstant: 200).isActive = true
        cardView.heightAnchor.constraint(equalToConstant: 200).isActive = true
        cardView.centerXAnchor.constraint(equalTo: view.centerXAnchor).isActive = true
        cardView.centerYAnchor.constraint(equalTo: view.centerYAnchor).isActive = true
        cardView.backgroundColor = UIColor(red: 1.0, green: 0.784, blue: 0.2, alpha: 1)


        let tapRecognizer = UITapGestureRecognizer(target: self, action: #selector(animateCornerChange(recognizer:)))
        cardView.addGestureRecognizer(tapRecognizer)

    }


    @objc func animateCornerChange(recognizer: UITapGestureRecognizer) {
        let targetRadius: Double = (cardView.layer.cornerRadius == 0.0) ? 100.0:0.0

        if #available(iOS 10.0, *) {
            UIViewPropertyAnimator(duration: 0.4, curve: .easeInOut) {
                self.cardView.roundCorners(cornerRadius: targetRadius)
                }.startAnimation()
        } else {
            UIView.animate(withDuration: 1.0, delay: 0.0, options: .curveEaseInOut, animations: {

            }, completion: nil)
        }
    }
}

extension UIView {
    func roundCorners(cornerRadius: Double) {
        self.layer.cornerRadius = CGFloat(cornerRadius)
        self.clipsToBounds = true

        if #available(iOS 11.0, *) {
            self.layer.maskedCorners = [.layerMinXMinYCorner, .layerMaxXMinYCorner]
        } else {
            let path = UIBezierPath(roundedRect: self.bounds, byRoundingCorners: [.topLeft, .topRight], cornerRadii: CGSize(width: cornerRadius, height: cornerRadius))
            let maskLayer = CAShapeLayer()
            maskLayer.frame = self.bounds
            maskLayer.path = path.cgPath
            self.layer.mask = maskLayer
        }

    }
}
The Key Point Here Is the New Animation API
After iOS 10, UIKit added a new animation API.
1
2
3
4
UIViewPropertyAnimator(duration: 0.4, curve: .easeInOut) {
// Write the relevant View operations here... e.g., the code below
                self.cardView.roundCorners(cornerRadius: targetRadius)
                }.startAnimation()
Before iOS 10, you could use the old API.
1
2
3
4
UIView.animate(withDuration: 1.0, delay: 0.0, options: .curveEaseInOut, animations: {
// Write the relevant View operations here... e.g., the code below
                self.cardView.roundCorners(cornerRadius: targetRadius)
            }, completion: nil)
The final effect
Summary
Some simple corner-radius animations in iOS are quite common, so I’m recording them here. I hope you’ll share your feedback.