
Preface
This article carries a strong personal tone. If you find it uncomfortable to read, please close it immediately. This article is intended only as a personal study record. You are welcome to repost or share it within the scope of the license—please respect the copyright and keep the original link. Thank you for your understanding and cooperation. If you find this site helpful, you can subscribe via RSS. Thanks for your support!
Background
The safeArea introduced after iOS11 is used to handle the notch screen issue. Handling it yourself can be rather troublesome—you need to check the version and verify API availability. During the Qingming holiday, with nothing to do at home, I wrote a demo to solve how to more quickly handle screen boundary issues—for example, laying out a view below the iOS navigation bar and above the Home Indicator. Let’s look at the image below first:
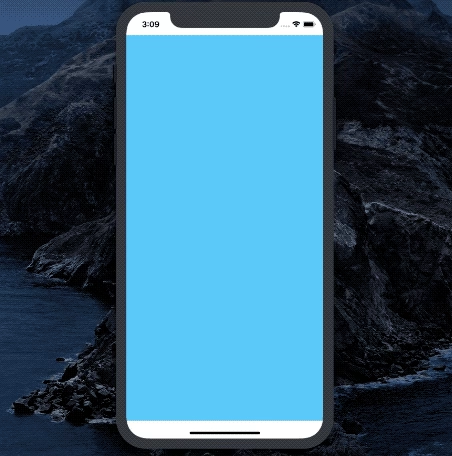
How to display a View within the safe area with less code.
Code Implementation
Here we leverage the APIs provided by the latest Masonry library.
1
2
3
4
5
6
7
8
9
10
11
12
13
14
15
16
17
- (void)viewDidLoad {
    [super viewDidLoad];

    [self.subViewA mas_makeConstraints:^(MASConstraintMaker *make) {
        if (@available(iOS 11.0, *)) {
            make.top.equalTo(self.view.mas_safeAreaLayoutGuideTop);
            make.left.equalTo(self.view.mas_safeAreaLayoutGuideLeft);
            make.bottom.equalTo(self.view.mas_safeAreaLayoutGuideBottom);
            make.right.equalTo(self.view.mas_safeAreaLayoutGuideRight);
        } else {
            make.top.equalTo(self.mas_topLayoutGuideBottom);
            make.left.right.equalTo(self.view);
            make.bottom.equalTo(self.mas_bottomLayoutGuideTop);
        }
    }];
}
As you can see, safeArea only supports iOS11 and above. For iOS versions below 11, we can use the code shown above.
self.mas_topLayoutGuideBottomandself.mas_bottomLayoutGuideTop—hereselfrefers toUIViewController.
Next, let’s try using the following APIs without SafeArea.
Top Area
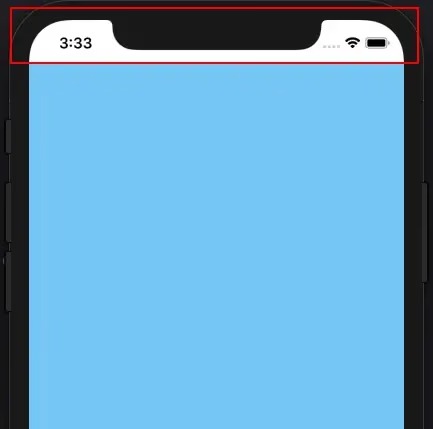
mas_topLayoutGuideandmas_topLayoutGuideBottomboth go from the top to the bottom of the notch screen, meaning they’re the same as safeAreaTop, as shown below:

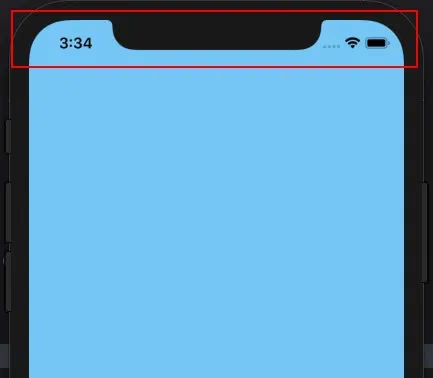
mas_topLayoutGuideTopgoes to the very top of the screen (ignoring the notch, meaning it’s covered by the notch), as shown below:
Bottom Area
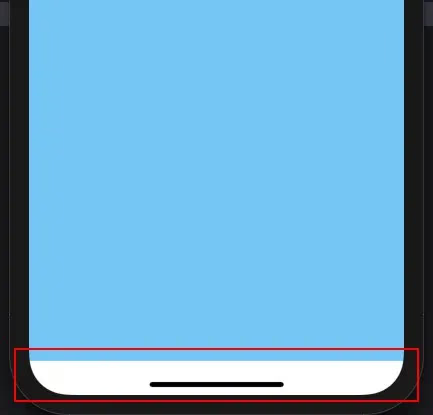
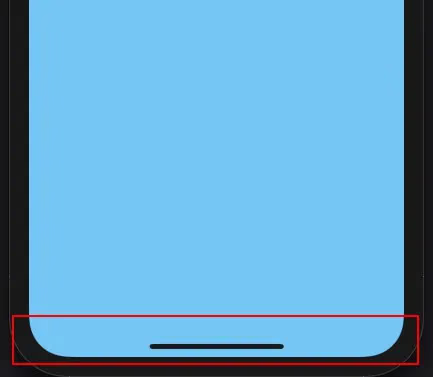
mas_bottomLayoutGuideandmas_bottomLayoutGuideTopare both above theHome bar, as shown below:
mas_bottomLayoutGuideBottompushes straight to the bottom, stretching to the screen edge, as shown below:
If you want to achieve the same effect as safeArea, you can write it like this
1
2
3
4
5
[self.subViewA mas_makeConstraints:^(MASConstraintMaker *make) {
        make.top.equalTo(self.mas_topLayoutGuide);
        make.left.right.equalTo(self.view);
        make.bottom.equalTo(self.mas_bottomLayoutGuide);
}];
!!!Note: LayoutGuide only applies to
ios(7.0,11.0), meaning that after iOS 11, you must use safeArea for accuracy.
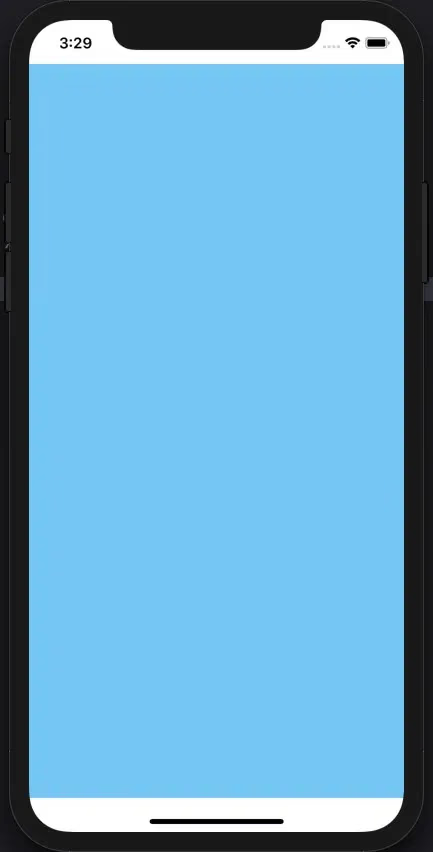
Here’s a screenshot of the finished result:
Summary
With Masonry, we can more conveniently and quickly achieve the desired layout effects without writing macros to distinguish between notch screens and other screens, because what we’re actually manipulating is the range within the safe area. In your free time, pay more attention to open-source code and write demos to experiment.
So the best practice code to achieve the above should be:
1
2
3
4
5
6
7
8
9
10
11
12
[self.subViewA mas_makeConstraints:^(MASConstraintMaker *make) {
    if (@available(iOS 11.0, *)) {
        make.top.equalTo(self.view.mas_safeAreaLayoutGuideTop);
        make.left.equalTo(self.view.mas_safeAreaLayoutGuideLeft);
        make.bottom.equalTo(self.view.mas_safeAreaLayoutGuideBottom);
        make.right.equalTo(self.view.mas_safeAreaLayoutGuideRight);
    } else {
        make.top.equalTo(self.mas_topLayoutGuideBottom);
        make.left.right.equalTo(self.view);
        make.bottom.equalTo(self.mas_bottomLayoutGuideTop);
    }
}];