
Preface
This article carries strong personal sentiments. If you find it uncomfortable to read, please close it. This article is for personal learning records only. You’re welcome to repost or share it within the scope of the license — please respect the copyright and keep the original link. Thank you for your understanding and cooperation. If you find this site helpful, you can subscribe via RSS. Thanks for your support!
Background
Recently I had some free time on weekends, so I did a comprehensive optimization of the blog’s image resources. After optimization, the image resources were reduced by half. Otherwise, at my current writing pace, the total resources would soon exceed 1G in a few years. If it exceeds 1G, GitHub Pages would stop supporting the repository, and I’d need to purchase additional repository space.
A while ago, I noticed that my blog had too many images, making it slow to run and load. Optimizing resource files became an urgent task.
Then I compared WebP images with PNG and found it was a total game-changer. The same image was 27k in WebP but 80k+ in PNG — a geometric-level optimization. Looking at the image quality, although the colors weren’t as vibrant as before, these weren’t important images, so there was no need for high resolution. This gave me the idea to optimize the blog resources.
With the idea in mind, the challenge was that I had years of resources — was I going to replace them one by one?
As a proper engineer, I had to use a script to batch process all images and convert them to WebP.
So I used brew to install the libwebp library:
1
2
3
4
brew install jpeg-turbo
brew install libpng
brew install libtiff
brew install webp
After some work, the webp command was finally installed.
To convert other images to WebP, use the cwebp command (encoder); conversely, dwebp is the decoder.
With the tools ready, let’s get to work.
touch a webp.sh
Iterate through all resource directories, perform the conversion, and then delete the original png, jpg, etc.
1
2
3
4
5
6
7
8
9
10
11
12
13
14
15
16
17
18
19
#!/bin/sh

for dir in `ls .`
do
    if [ -d $dir ]
    then
        echo $dir
        cd $dir
            `for file in *.png *.jp*g *.PNG ; do cwebp -q 80 "$file" -o "${file%.*}.avif"; done`
            rm -rf *.png *.jp*g
        cd ..
    fi
done

#读取第一个参数
read_dir $1

#for file in *.png *.jp*g *.PNG ; do cwebp -q 80 "$file" -o "${file%.*}.avif"; done
Place this script in the /assets/images directory and run it.
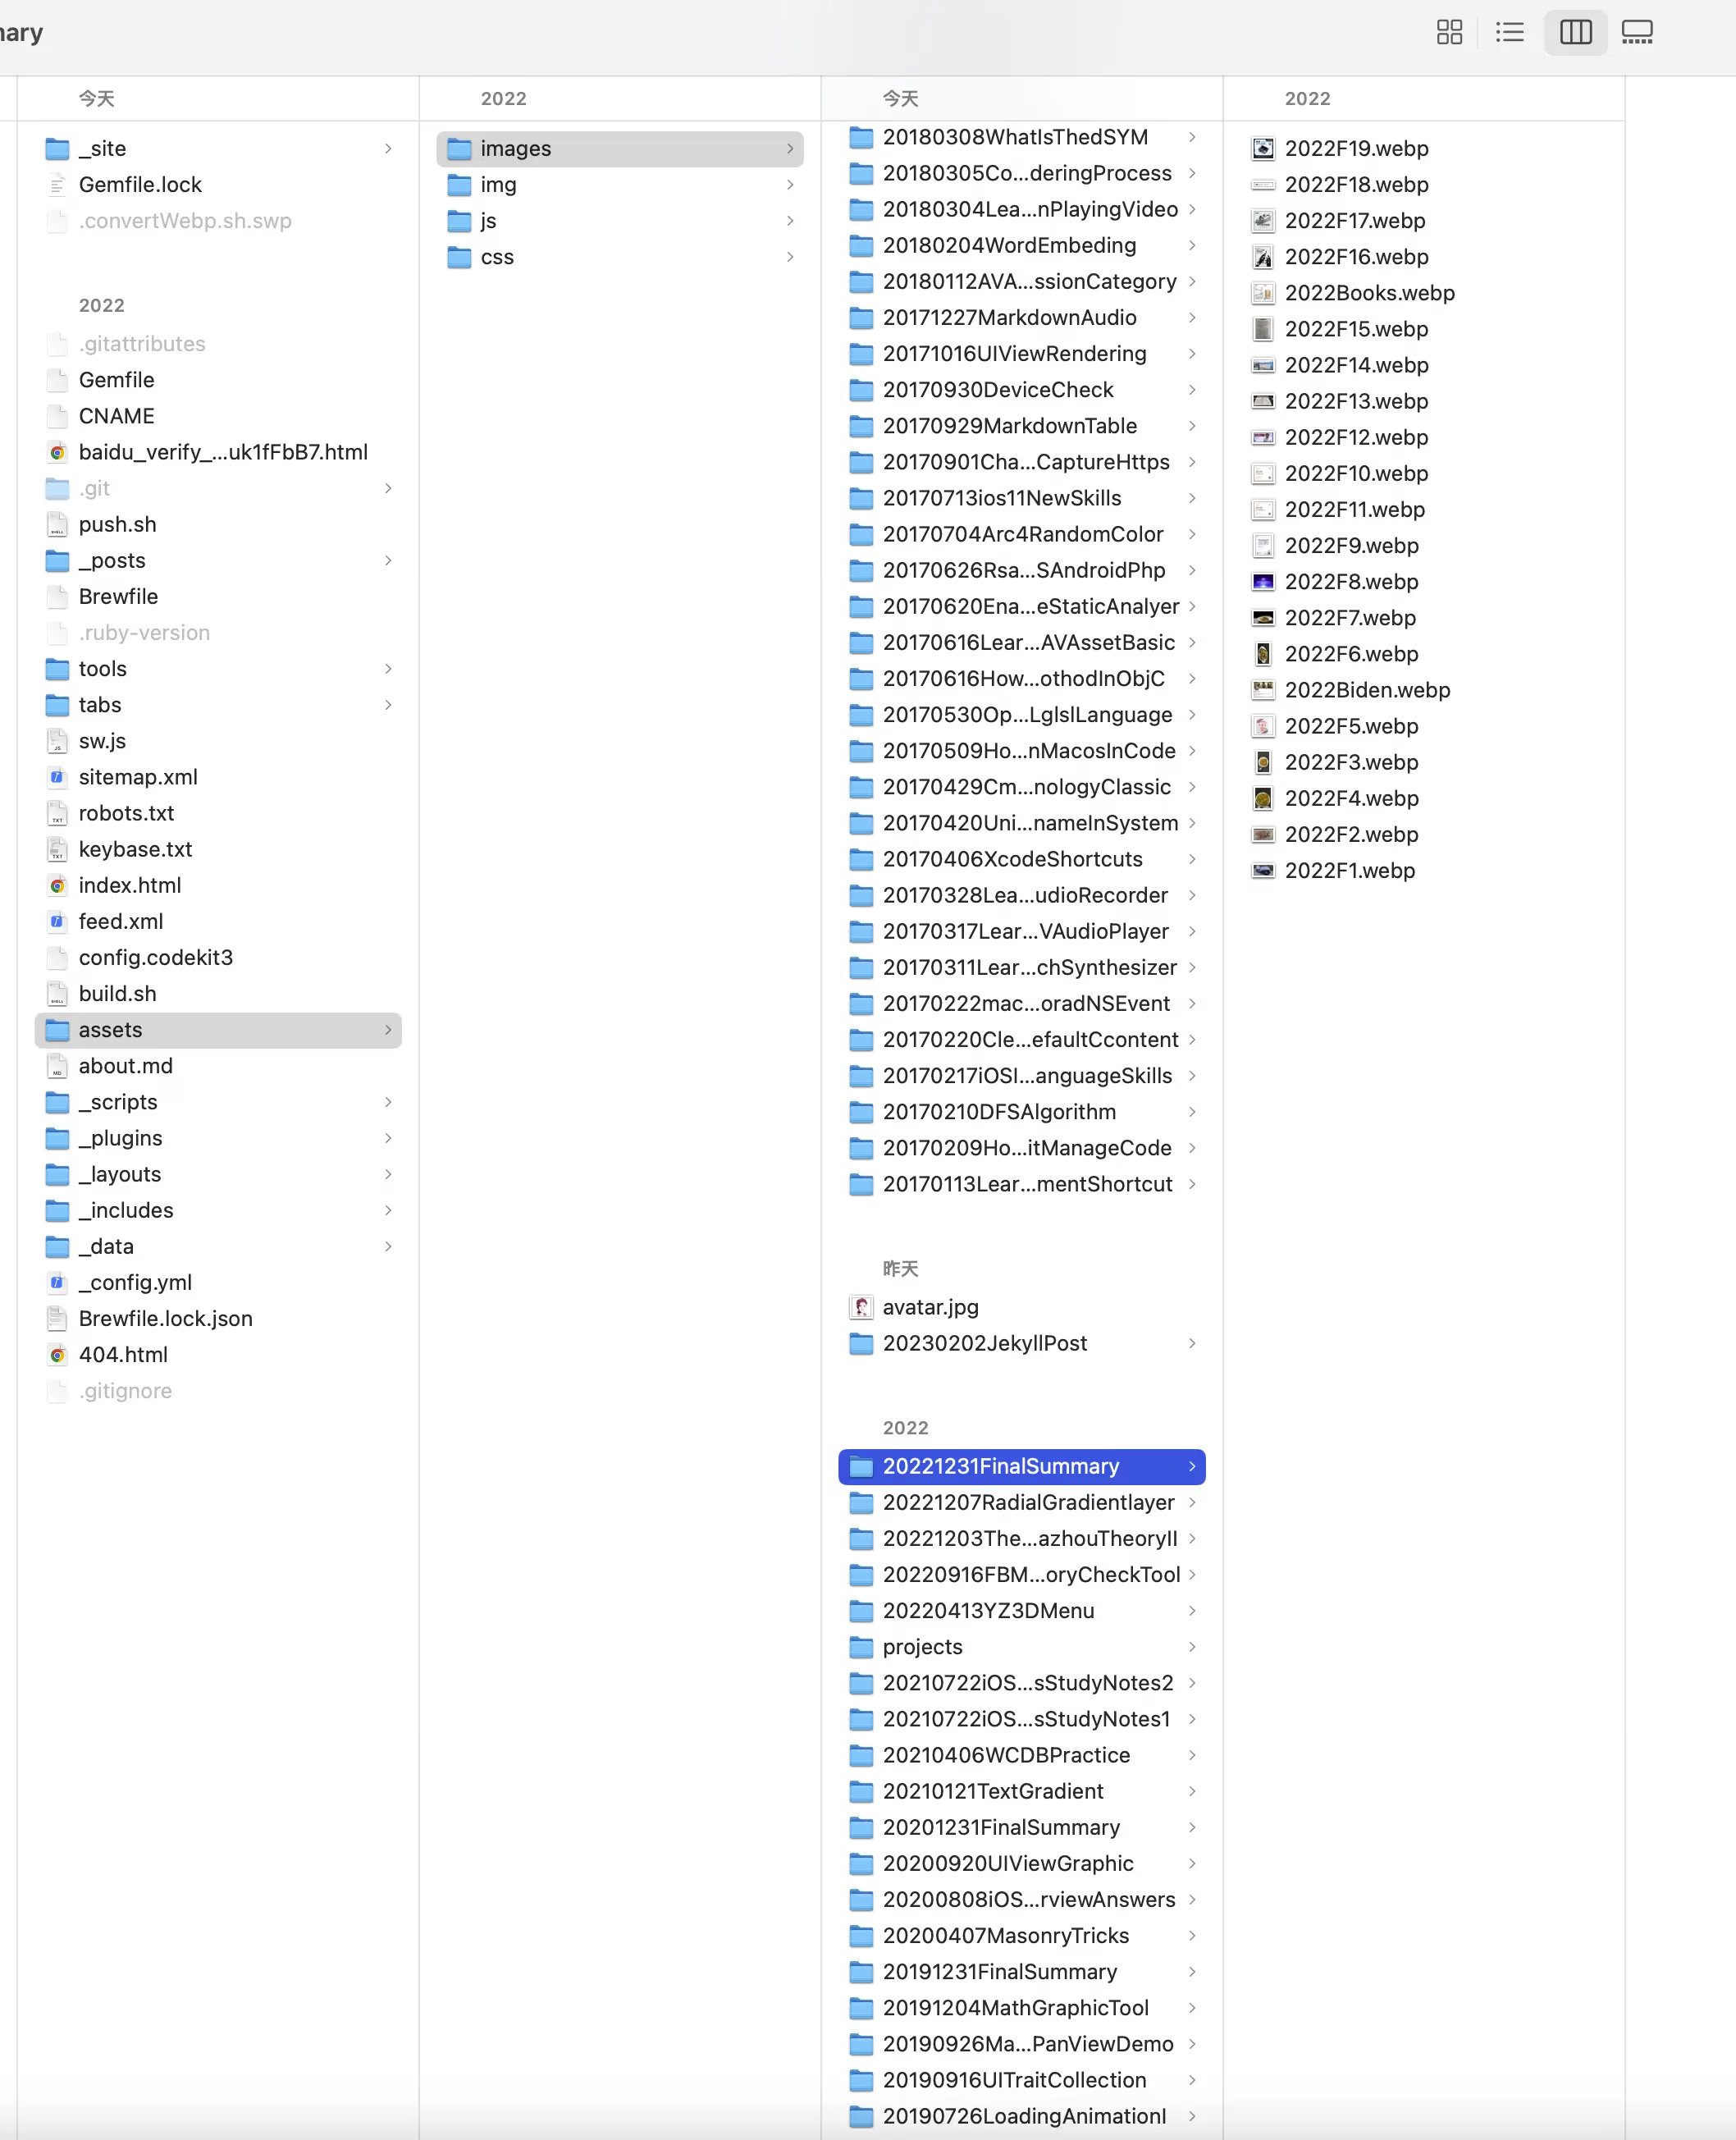
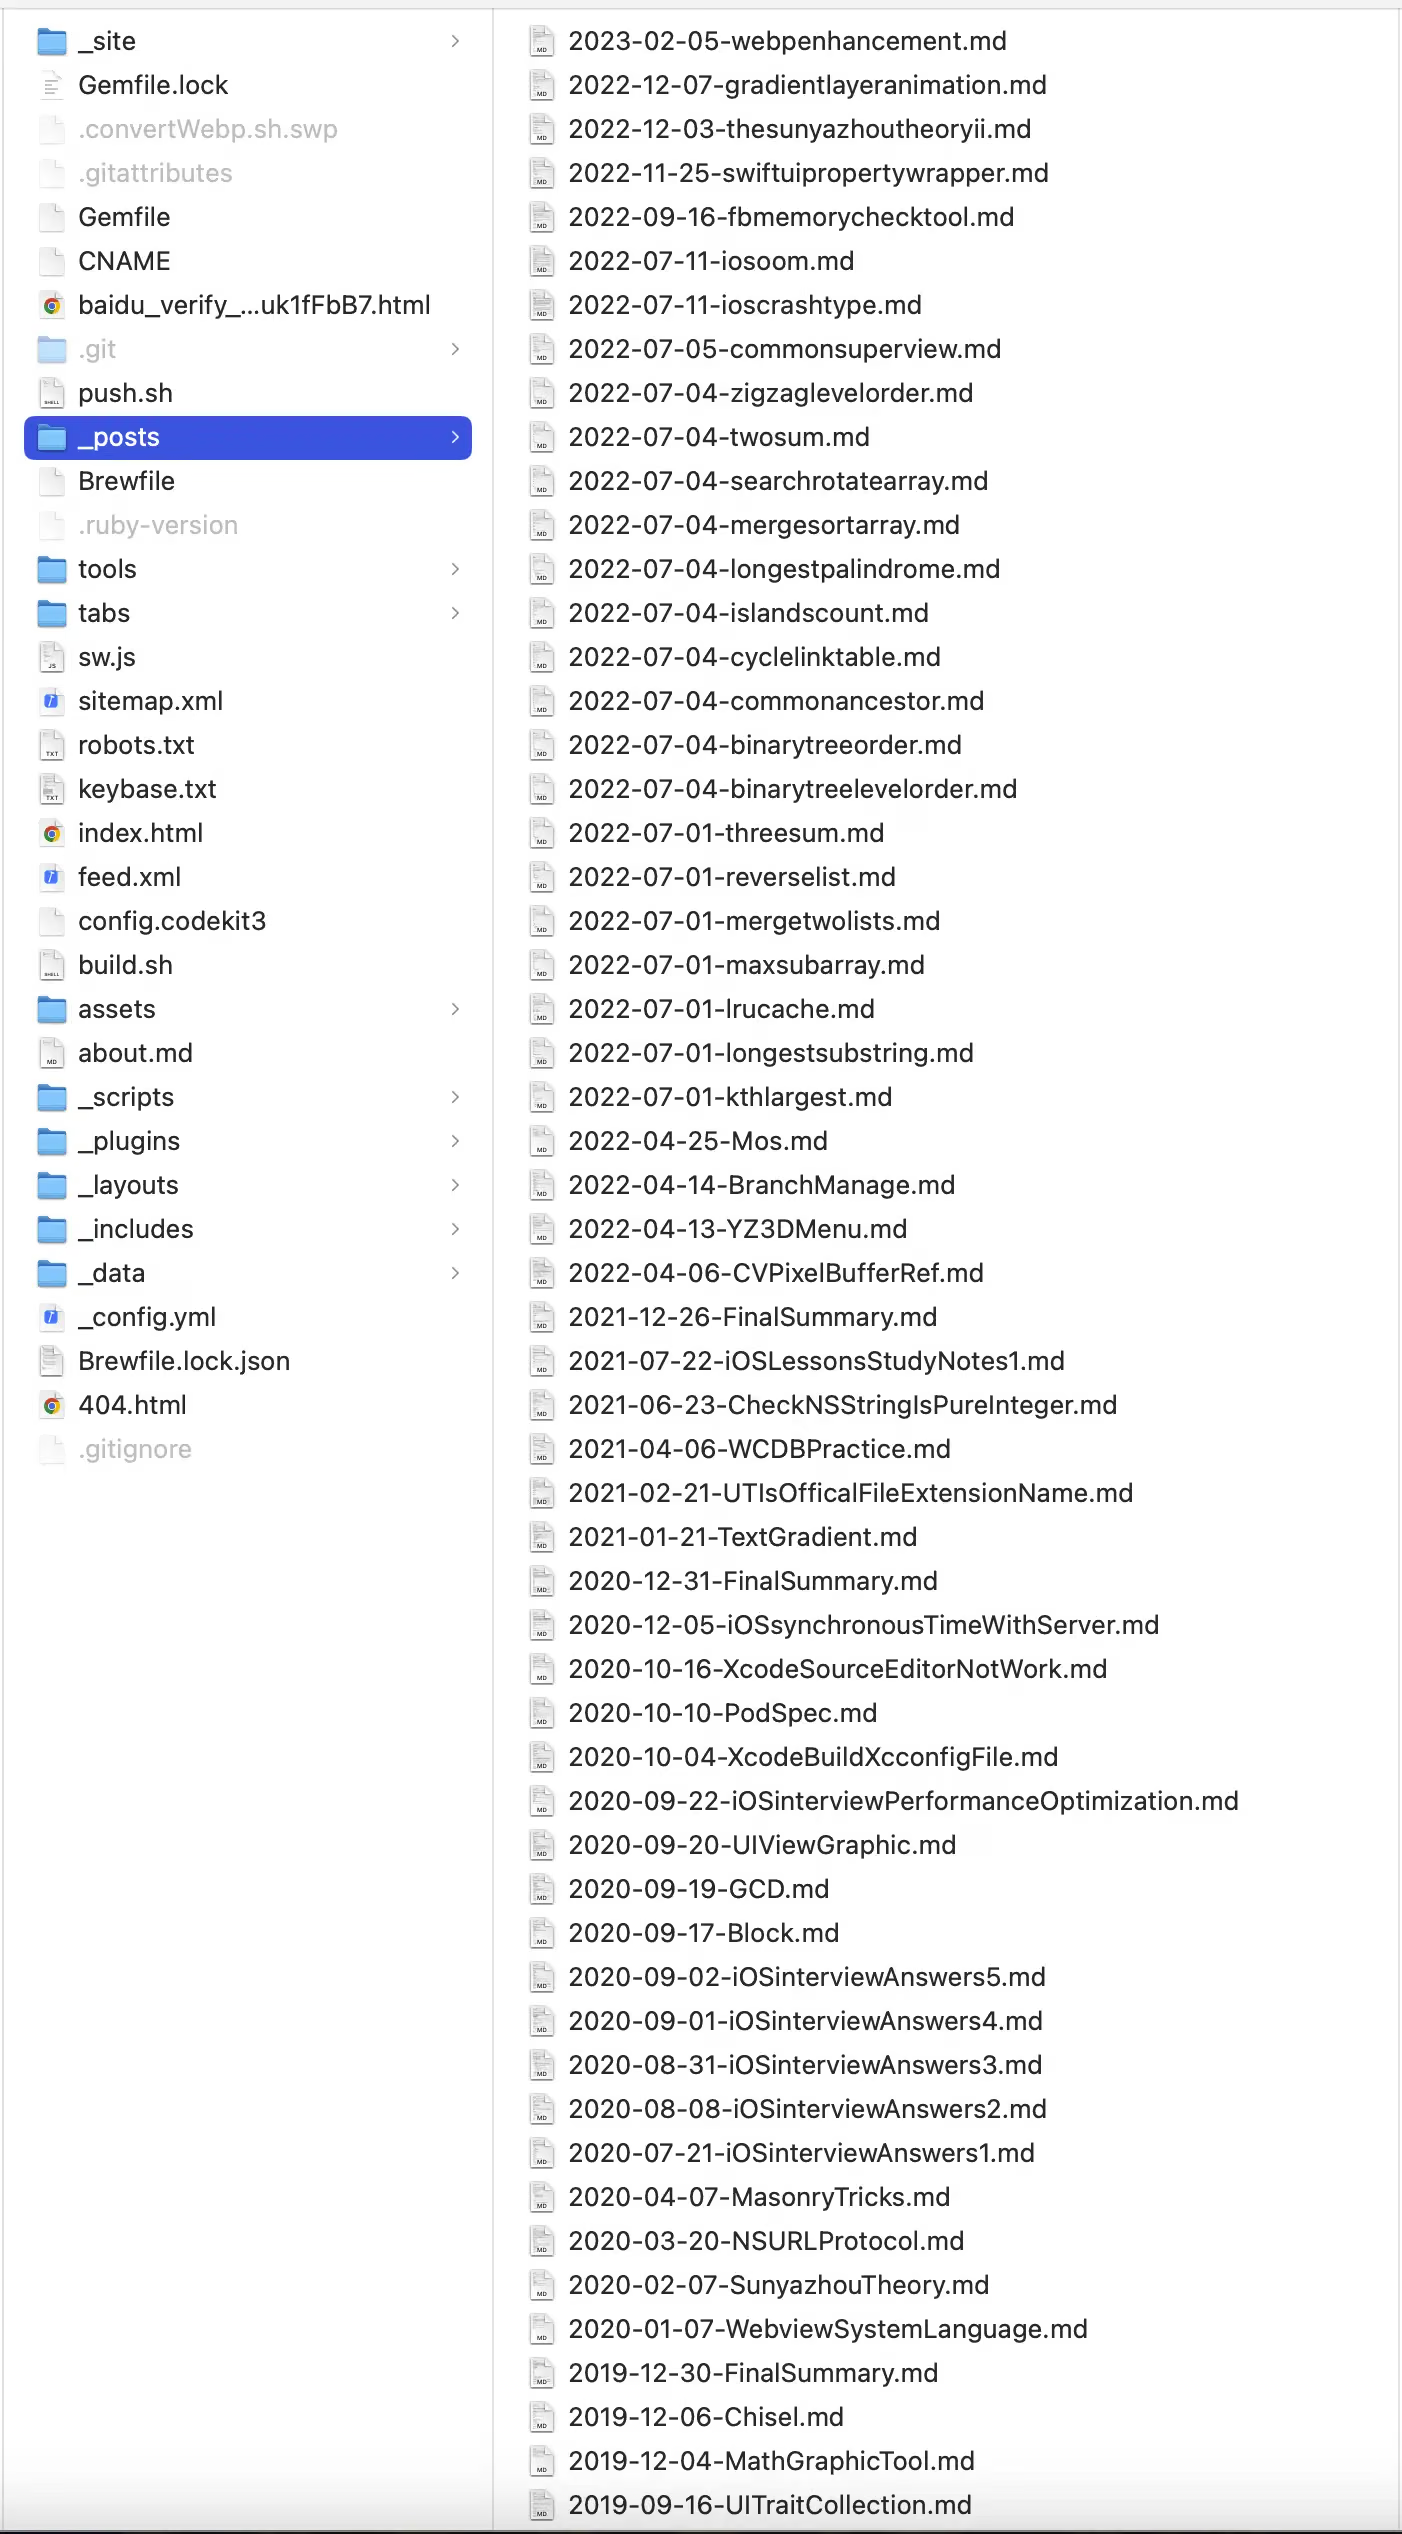
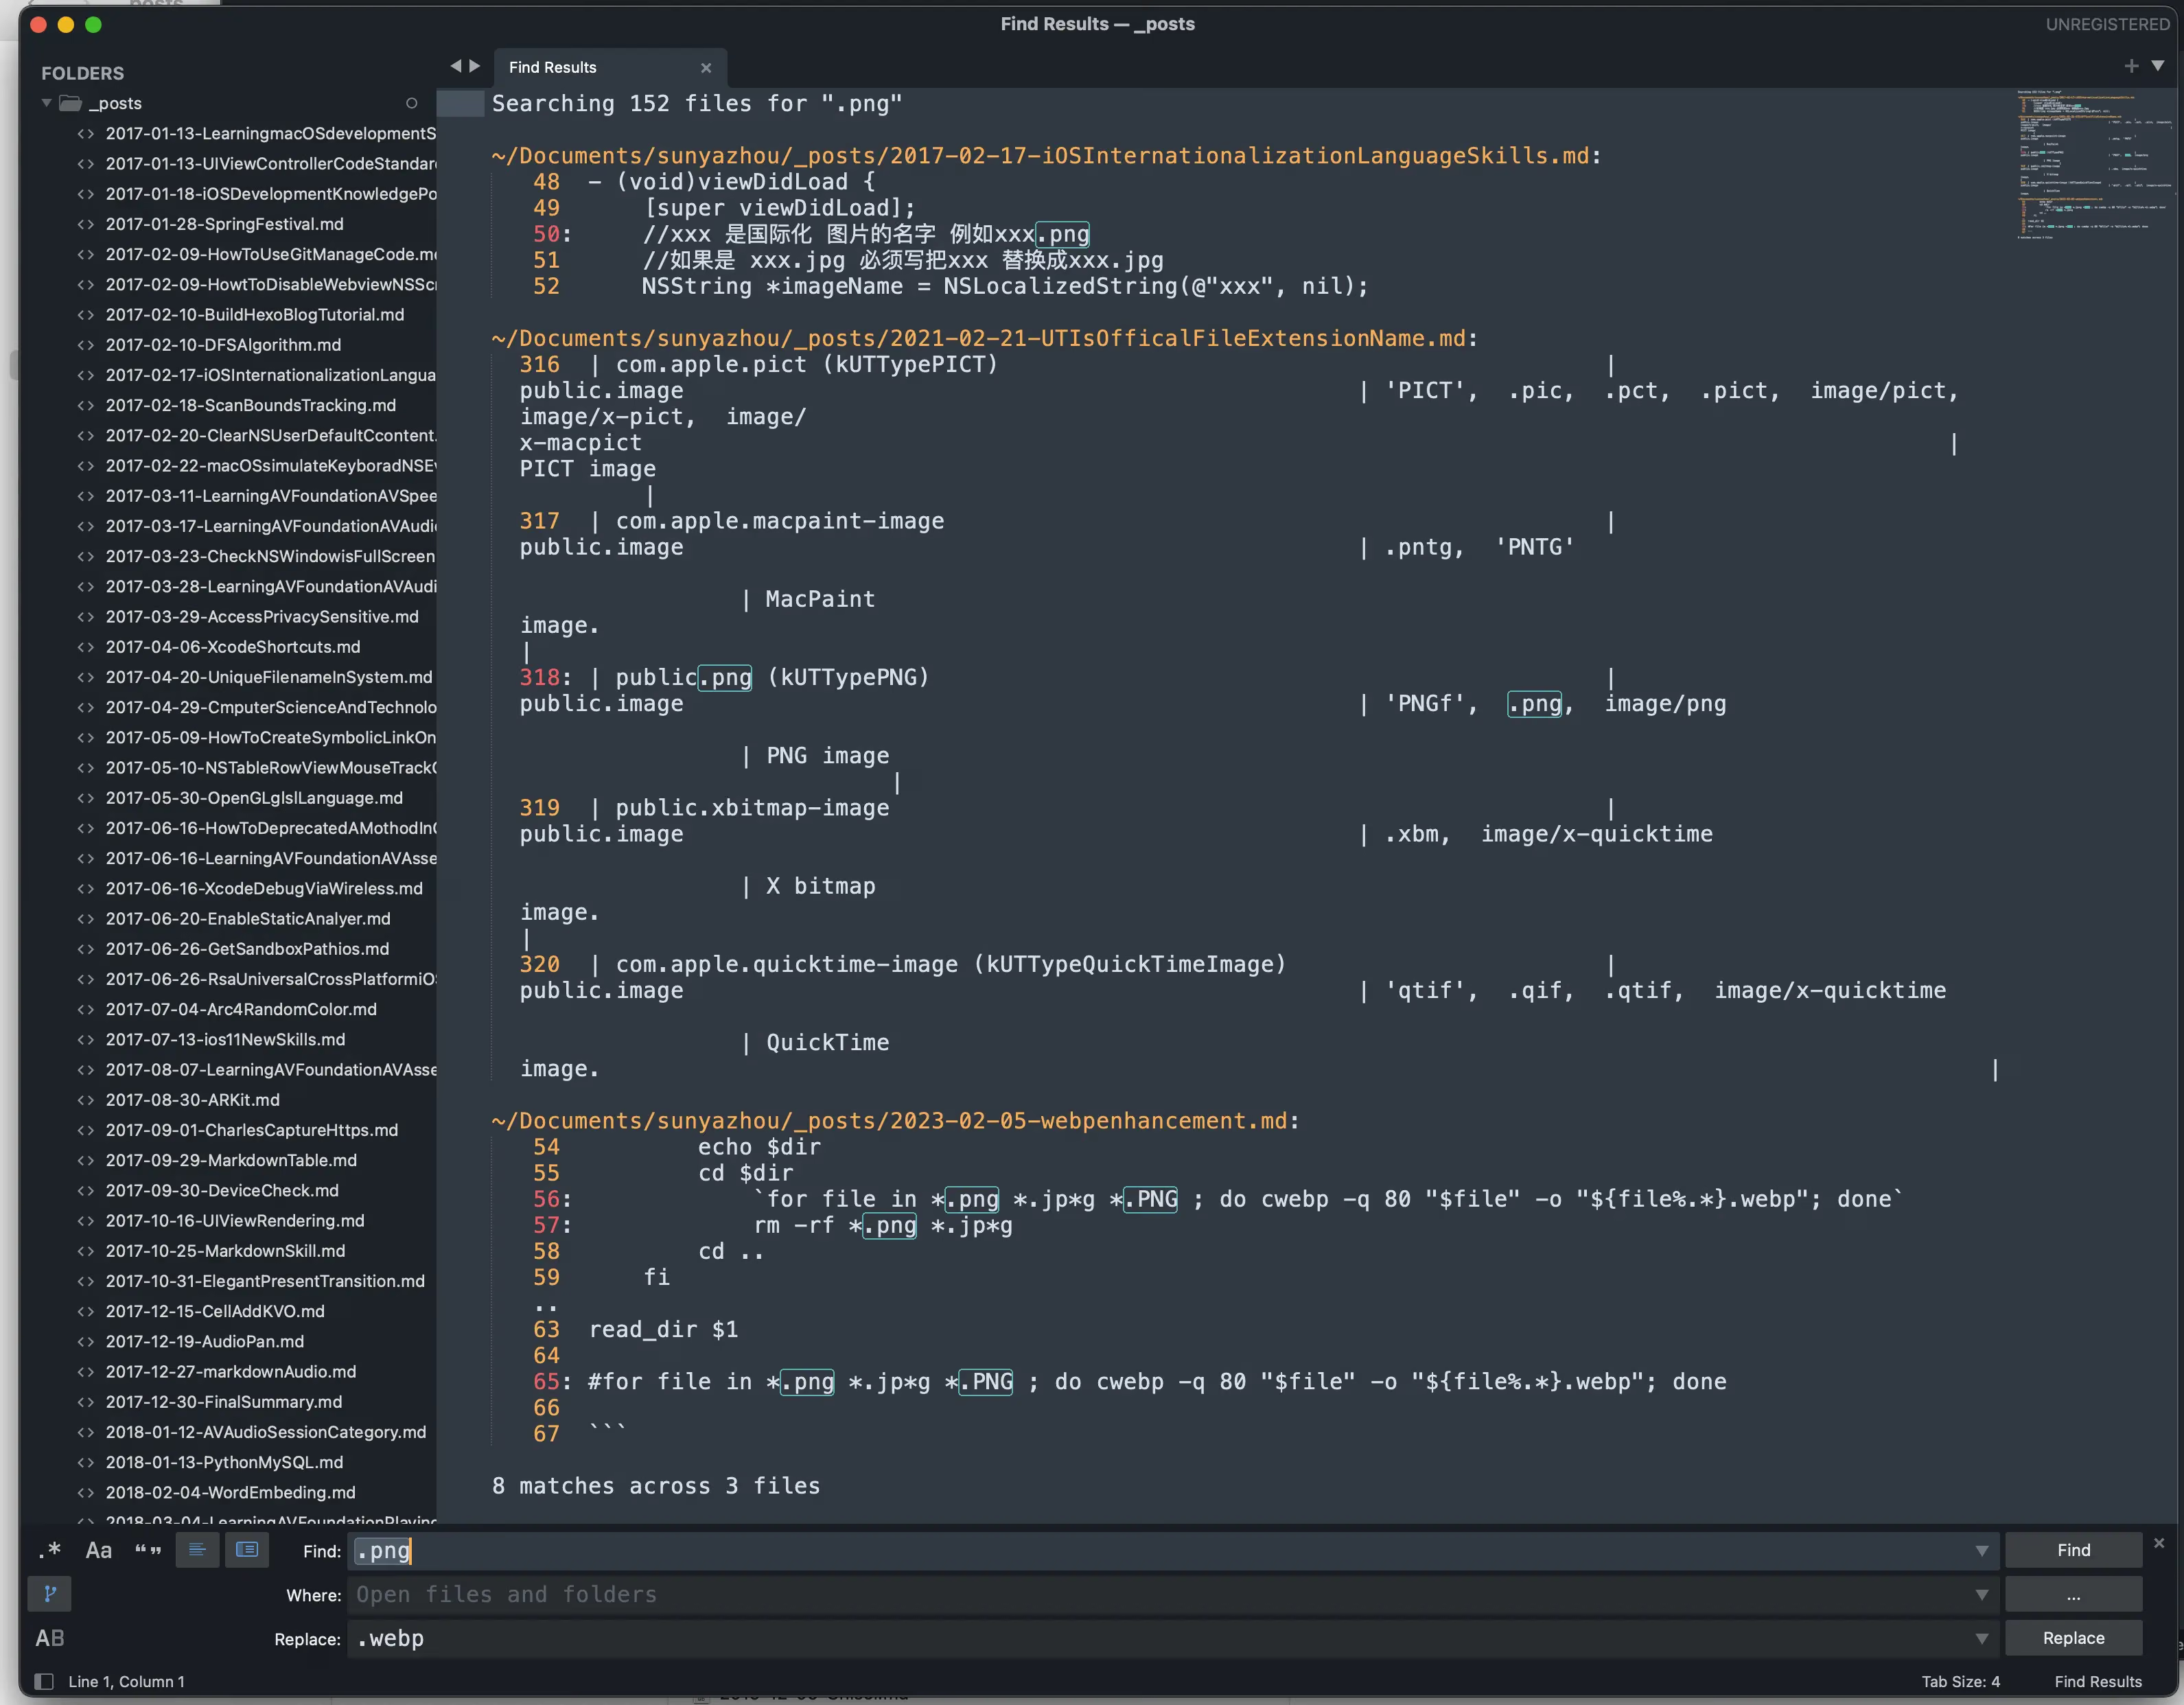
The remaining work is to find all the post markdown articles and uniformly change the image suffixes.
Then use SourceTree to review the changes and make sure nothing was changed incorrectly. This process is fast — although there are many, image suffix changes are simple and easy to identify.
Finally, build the blog and deploy to remote.
Summary
For this particular case, manual changes would be exhausting and purely manual labor. You must learn to harness technology and use it to solve real problems.