
Preface
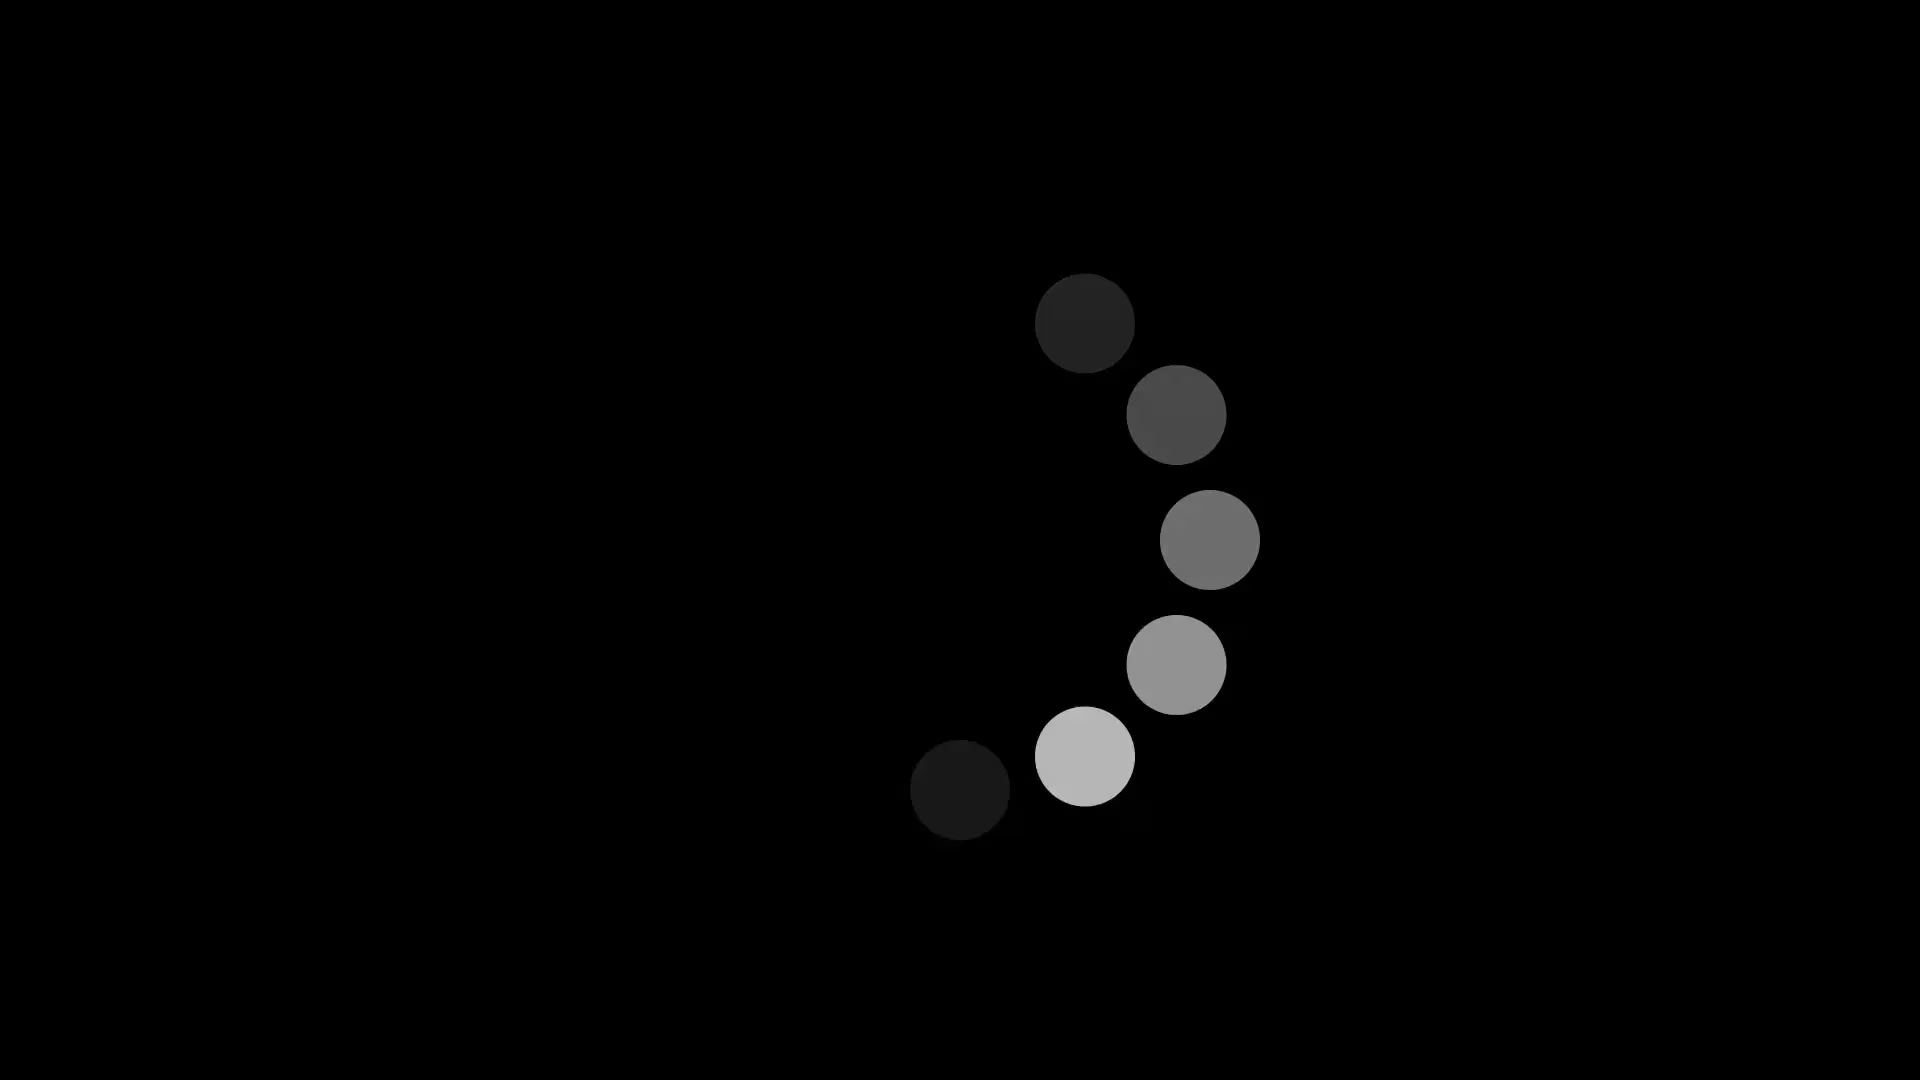
I’ve been so busy with work lately that I fall asleep on the subway ride home, so my blog hasn’t been updated in time. Today I’m squeezing in some time to write about a loading animation. Without further ado, here’s the picture.
(The colors are fully customizable — it’s very simple, even a beginner can change them freely)
Getting Started
Create a UIView subclass called UILoadingView (the name shouldn’t really start with UI, but I did it just for fun — you get the idea), then add two methods:
1
2
3
4
5
6
7

@interface UILoadingView : UIView

- (void)startLoading; //1
- (void)stopLoading;  //2

@end
- Start the animation
- Stop the animation
In the implementation .m file, we need to use CAReplicatorLayer. Since there are many small dots in the animation, CAReplicatorLayer helps us automatically create multiple instances of the dots.
1
2
3
4
5
6
7
8
9
10
11
12
13
14
15
16
17
18
19
20
21
22
23
24
25
26
@interface UILoadingView ()

@property(nonatomic, strong) CAReplicatorLayer *replicatorLayer;

@end

@implementation UILoadingView

- (instancetype)initWithFrame:(CGRect)frame {
    self = [super initWithFrame:frame];
    if (self) {
        [self setupSubviews];
    }
    return self;
}

- (void)awakeFromNib {
    [super awakeFromNib];
    [self setupSubviews];
}

- (void)setupSubviews {
	//fill in the code here to create the needed views, keep reading below
}

@end
Create the Subviews
First, we need to create an instance of replicatorLayer, then add one dot to it and stagger the angles. The knowledge point involved here is basically the relationship between position and bounds. I don’t want to ramble on; just google it yourself. Here’s the code:
1
2
3
4
5
6
7
8
9
10
11
12
13
14
15
16
17
18
19
20
21
22
23
24
- (void)setupSubviews {
    if (self.replicatorLayer == nil) {
        self.replicatorLayer = [CAReplicatorLayer layer];
        self.replicatorLayer.backgroundColor = [UIColor clearColor].CGColor;
        [self.layer addSublayer:self.replicatorLayer];
        self.replicatorLayer.bounds = self.bounds;
        self.replicatorLayer.position = self.center;
        NSInteger instanceCount = 15;  //1
        self.replicatorLayer.instanceCount = instanceCount; //
        self.replicatorLayer.instanceTransform = CATransform3DMakeRotation(M_PI * 2 / instanceCount, 0, 0, 1); //2
        self.replicatorLayer.instanceDelay = 1 / (instanceCount * 1.0); //2

    }
    //dot
    CALayer *circle = [CALayer layer];
    circle.bounds = CGRectMake(0, 0, 10, 10);
    circle.cornerRadius = 5;
    circle.position = CGPointZero;
    circle.backgroundColor = [self randomColor].CGColor;
    circle.name = kCircleName; //3  设置layer的唯一标识
    [self.replicatorLayer addSublayer:circle];
    //tip: the animation doesn't look natural at first because the initial scale of the dot is 1, so set it to 0.01
    circle.transform = CATransform3DMakeScale(0.01, 0.01, 0.01); //5
}
- The code at 1 asks
CAReplicatorLayerto create the specified number of instances for us (the dot we add is what it needs — in other words, it creates instanceCount instances for you)- The code at 2 sets the staggered angle (2π is 360°. If you want a full circle of dots, then 2π/instanceCount is the angle for each dot. This is important — study it carefully.)
- The code at 3 gives this layer a unique identifier so we can find it via a method later. If you don’t do this, you’d have to store it in a member variable. If you store it in a member variable, mind the memory reference relationships — I don’t recommend the member variable approach.
- The code at 4 mainly solves the unnatural animation, because the initial scale of the dot being animated is 1, and only the first start looks abrupt.
Find the Dot Layer
1
2
3
4
5
6
7
8
- (CALayer *)findCircleLayer {
    for (CALayer *layer in [self.replicatorLayer sublayers]) {
        if ([[layer name] isEqualToString:kCircleName]) {
            return layer;
        }
    }
    return nil;
}
When we need it, we call this method to find the layer we added:
Implement the Exposed Methods
1
2
3
4
5
6
7
8
9
10
11
12
13
14
15
16
17
18
19
- (void)startLoading {
    CALayer *circleLayer = [self findCircleLayer];
    if (circleLayer && ![[circleLayer animationKeys] containsObject:kScaleAnimationKey]) {
        //add the animation
        CABasicAnimation *scale = [CABasicAnimation animationWithKeyPath:@"transform.scale"];
        scale.fromValue = @(1);
        scale.toValue = @(0.1);
        scale.duration = 1;
        scale.repeatCount = HUGE;
        [circleLayer addAnimation:scale forKey:kScaleAnimationKey];
    }
}

- (void)stopLoading {
    CALayer *circleLayer = [self findCircleLayer];
    if (circleLayer && [[circleLayer animationKeys] containsObject:kScaleAnimationKey]) {
        [circleLayer removeAnimationForKey:kScaleAnimationKey];
    }
}
Define the kScaleAnimationKey constant yourself.
Support Auto Layout
Most people use Masonry these days, so let’s use Masonry for auto layout here. The reason for using auto layout is that when external code uses auto layout for its views, the internal code needs to update the relevant layer’s frame. Here’s the code:
1
2
3
4
5
6
7
8
9
10
11
12
13
14
15
- (void)layoutSubviews {
    [super layoutSubviews];

    [CATransaction begin];
    [CATransaction setDisableActions:YES];
    self.replicatorLayer.bounds = self.bounds;
    self.replicatorLayer.position = CGPointMake(CGRectGetWidth(self.bounds)/2, CGRectGetHeight(self.bounds)/2);

    CALayer *circleLayer = [self findCircleLayer];
    if (circleLayer) {
        circleLayer.position = CGPointMake(self.frame.size.width / 2, self.frame.size.height/2 - 40); //距离圆心 40pt
    }
    [CATransaction commit];
    [self.replicatorLayer layoutSublayers];
}
This uses knowledge about implicit and explicit animations:
1
2
3
4
5
6
7
[CATransaction begin];
[CATransaction setDisableActions:YES];

//...modify the relevant animation parameters here

[CATransaction commit];
Because the layer may be in the middle of an animation, and if it is, you generally need to add a transaction here when modifying it so the change is smoother and more natural. As you can see in the comment in my code above, the 40pt distance is actually the distance from the center to the dot layer we created above — feel free to adjust it.
Summary
Lately I’ve been working on an audio waveform animation, trying to achieve a vinyl record effect similar to NetEase Cloud Music, but I had forgotten some of the knowledge involved. I’m using this post to review the animation knowledge, and also to update my long-dormant blog and record some tricks I often forget.
I’ve put the demo and related reference articles below. If you’re interested, feel free to study them.